
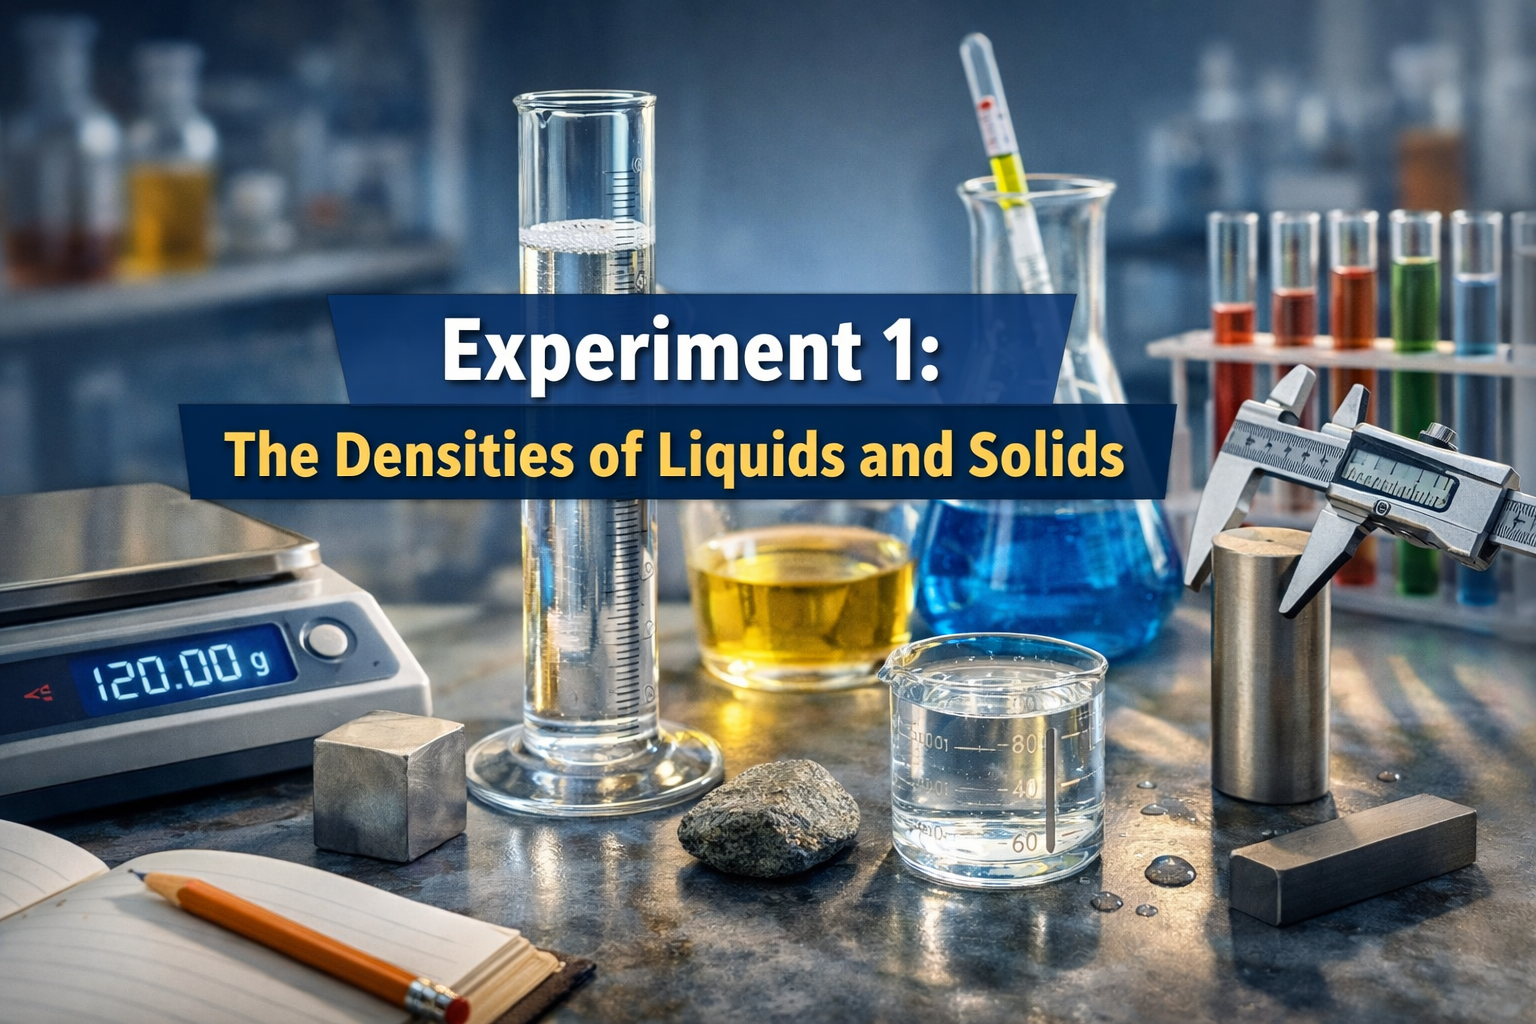

Experiment 1: The Densities of Liquids and Solids (Complete Guide)
Understanding density is one of the most fundamental concepts in science. Whether you’re studying physics, chemistry, engineering, or environmental science, density helps explain why objects float, sink, mix, or separate.
In most introductory laboratory courses, Experiment 1: The Densities of Liquids and Solids is often the first hands-on activity students perform. It teaches essential measurement skills, introduces laboratory equipment, and builds a deeper understanding of matter.
This comprehensive guide explains everything you need to know about the density of liquids and solids experiment, including theory, procedures, calculations, examples, and practical applications.
What Is Density?
Density is defined as the mass of a substance per unit volume.
Density Formula
Density=MassVolumeDensity = \frac{Mass}{Volume}
or
ρ=mV\rho = \frac{m}{V}
Where:
| Symbol | Meaning |
|---|---|
| ρ | Density |
| m | Mass |
| V | Volume |
Common Density Units
| Unit | Usage |
|---|---|
| g/cm³ | Solids |
| g/mL | Liquids |
| kg/m³ | Scientific calculations |
For example:
| Substance | Density |
|---|---|
| Water | 1.00 g/mL |
| Aluminum | 2.70 g/cm³ |
| Iron | 7.87 g/cm³ |
| Mercury | 13.6 g/mL |
The density of liquids and solids experiment allows students to measure these values directly using laboratory equipment.
Why This Experiment Is Important
Performing Experiment 1: The Densities of Liquids and Solids helps students learn key scientific skills.
1. Understanding Physical Properties
Density is a physical property, meaning it helps identify substances without changing them.
2. Learning Accurate Measurements
Students practice using:
-
Balance
-
Graduated cylinder
-
Vernier caliper
-
Measuring cylinder
3. Applying Scientific Formulas
The experiment reinforces how to apply the density formula in real situations.
4. Developing Laboratory Skills
Students learn:
-
Data recording
-
Measurement precision
-
Error analysis
-
Scientific reporting
Objectives of the Density Experiment
The main goals of Experiment 1: The Densities of Liquids and Solids include:
-
Determining the density of a liquid
-
Determining the density of regular solid objects
-
Determining the density of irregular solids
-
Learning how to measure mass and volume accurately
-
Comparing experimental results with standard density values
Key Concepts Before the Experiment
Before starting the density of liquids and solids experiment, it’s important to understand a few scientific principles.
Mass
Mass is the amount of matter in an object.
Measured using:
-
Digital balance
-
Analytical balance
Units:
-
grams (g)
-
kilograms (kg)
Volume
Volume refers to the space an object occupies.
For Liquids
Measured using:
-
Graduated cylinder
-
Pipette
-
Burette
For Regular Solids
Calculated using geometry formulas.
Example:
Rectangular block:
V=Length×Width×HeightV = Length × Width × Height
Cylinder:
V=πr2hV = πr²h
Density
Density tells us how tightly matter is packed inside a material.
Objects with higher density sink, while those with lower density float.
Example:
-
Oil floats on water because oil has lower density.
Apparatus Required
To perform Experiment 1: The Densities of Liquids and Solids, the following equipment is typically used.
Laboratory Equipment
| Equipment | Purpose |
|---|---|
| Digital balance | Measure mass |
| Graduated cylinder | Measure liquid volume |
| Beaker | Hold liquids |
| Vernier caliper | Measure dimensions |
| Ruler | Measure solid objects |
| Thread/string | Suspend irregular solids |
Materials
-
Water
-
Unknown liquid (oil or alcohol)
-
Metal block
-
Irregular stone
-
Solid cube or cylinder
Experiment 1: Density of a Liquid
Principle
To determine the density of a liquid, we measure:
-
Mass of an empty container
-
Mass of container with liquid
-
Volume of liquid
Then apply the density formula.
Procedure
-
Measure the mass of an empty graduated cylinder using a digital balance.
-
Record the mass.
-
Pour a known volume of liquid (e.g., 50 mL) into the cylinder.
-
Measure the mass of the cylinder with the liquid.
-
Calculate the mass of the liquid.
Mass of Liquid=Mass (Cylinder+Liquid)−Mass (Cylinder)Mass\ of\ Liquid = Mass\ (Cylinder + Liquid) − Mass\ (Cylinder)
-
Calculate density:
Density=MassVolumeDensity = \frac{Mass}{Volume}
Example Calculation
| Measurement | Value |
|---|---|
| Mass of empty cylinder | 120 g |
| Mass with liquid | 170 g |
| Volume of liquid | 50 mL |
Step 1: Mass of Liquid
170 − 120 = 50 g
Step 2: Density
Density=5050=1g/mLDensity = \frac{50}{50} = 1 g/mL
This matches the density of water.
Experiment 2: Density of Regular Solids
Regular solids have clear geometric shapes.
Examples:
-
Cube
-
Cylinder
-
Rectangular block
Procedure
-
Measure mass of the solid using a balance.
-
Measure dimensions using a ruler or Vernier caliper.
-
Calculate volume using geometry formula.
-
Calculate density using:
Density=MassVolumeDensity = \frac{Mass}{Volume}
Example
A metal cube has:
| Property | Value |
|---|---|
| Mass | 54 g |
| Length | 3 cm |
| Width | 3 cm |
| Height | 3 cm |
Volume
V=3×3×3=27 cm3V = 3 × 3 × 3 = 27\ cm³
Density
Density=5427=2 g/cm3Density = \frac{54}{27} = 2\ g/cm³
Experiment 3: Density of Irregular Solids
Irregular objects do not have regular shapes.
Examples:
-
Stones
-
Metal pieces
-
Minerals
For these objects we use the water displacement method.
Water Displacement Method
This method is based on Archimedes’ Principle.
When an object is submerged in water, it displaces an equal volume of water.
Procedure
-
Fill a graduated cylinder with water.
-
Record initial water volume.
-
Carefully place the object into the water.
-
Record final water volume.
-
Calculate volume of the object.
Volume=Final Volume−Initial VolumeVolume = Final\ Volume − Initial\ Volume
-
Measure the mass of the object.
-
Calculate density.
Example
| Measurement | Value |
|---|---|
| Initial volume | 40 mL |
| Final volume | 55 mL |
| Mass | 90 g |
Volume of Object
55−40=15 mL55 − 40 = 15\ mL
Density
Density=9015=6 g/mLDensity = \frac{90}{15} = 6\ g/mL
Recording Experimental Data
Students usually record observations in a table.
Sample Data Table
| Object | Mass (g) | Volume (cm³) | Density (g/cm³) |
|---|---|---|---|
| Metal cube | 54 | 27 | 2.0 |
| Stone | 90 | 15 | 6.0 |
| Liquid sample | 50 | 50 | 1.0 |
Sources of Error in the Density Experiment
Every laboratory experiment has measurement errors.
Common Errors
-
Parallax error when reading volume
-
Inaccurate balance calibration
-
Air bubbles in water displacement
-
Incorrect unit conversions
-
Temperature changes affecting liquids
How to Improve Accuracy
To obtain reliable density measurements:
-
Read the meniscus at eye level
-
Use calibrated balances
-
Remove air bubbles from submerged objects
-
Repeat measurements
-
Record significant figures correctly
Real-World Applications of Density
The concept learned in Experiment 1: The Densities of Liquids and Solids has many practical uses.
1. Shipbuilding
Ships float because their average density is lower than water.
2. Oil Industry
Oil floats on water due to lower density, which helps in oil spill cleanup methods.
3. Food Industry
Density determines:
-
Cream separation in milk
-
Sugar concentration in drinks
-
Alcohol content in beverages
4. Geology
Scientists use density to identify minerals and rocks.
5. Medicine
Density measurements help in:
-
Blood analysis
-
Urine testing
-
Pharmaceutical formulations
Density Comparison Table (Common Substances)
| Material | Density |
|---|---|
| Air | 0.0012 g/cm³ |
| Ice | 0.92 g/cm³ |
| Water | 1.00 g/cm³ |
| Aluminum | 2.70 g/cm³ |
| Copper | 8.96 g/cm³ |
| Lead | 11.34 g/cm³ |
Safety Precautions
While performing density experiments, students should follow laboratory safety guidelines.
Basic Safety Tips
-
Handle glassware carefully
-
Avoid spilling chemicals
-
Wear safety goggles
-
Keep electronic balances dry
-
Clean equipment after use
Advanced Concepts: Density and Temperature
Temperature affects liquid density.
When temperature increases:
-
Liquids expand
-
Volume increases
-
Density decreases
Example:
Warm water is less dense than cold water.
This principle explains ocean currents and weather patterns.
Density vs Specific Gravity
Students often confuse density with specific gravity.
| Property | Density | Specific Gravity |
|---|---|---|
| Definition | Mass per volume | Ratio to water density |
| Units | g/cm³ | No units |
| Reference | Independent | Compared to water |
Example:
If density = 2 g/cm³
Specific gravity = 2
Common Mistakes Students Make
During Experiment 1: The Densities of Liquids and Solids, students often:
-
Forget to subtract container mass
-
Misread graduated cylinders
-
Use wrong formulas
-
Ignore unit conversions
Avoiding these mistakes improves experimental accuracy.
Featured Snippet: What Is the Density of Liquids and Solids Experiment?
The density of liquids and solids experiment is a laboratory activity used to determine the density of substances by measuring their mass and volume and applying the formula density = mass ÷ volume.
It is commonly performed in physics and chemistry labs to teach measurement techniques and physical properties of matter.
Frequently Asked Questions (FAQs)
What is density in simple words?
Density is the amount of mass contained in a given volume of a substance.
Why do we measure density?
Density helps identify materials and predict whether objects will float or sink in liquids.
What is the formula for density?
The formula is:
Density = Mass ÷ Volume
Why do objects float in water?
Objects float if their density is less than the density of water (1 g/mL).
How do you measure density of irregular solids?
Using the water displacement method, where the object’s volume equals the amount of water displaced.
What tools measure density in laboratories?
Common tools include:
-
Digital balance
-
Graduated cylinder
-
Vernier caliper
-
Hydrometer
Professional Techniques: Density Bottle Method & Method Comparison
The Density Bottle (Pycnometer) Method
For the highest-accuracy liquid measurements, professionals use a density bottle instead of a graduated cylinder. The procedure:
- Weigh the empty density bottle
- Fill it with water and weigh again
- Empty it, fill with the test liquid, and weigh a third time
- Compare the results for a highly precise density value
This method eliminates meniscus reading errors and is standard in petroleum and pharmaceutical labs.
Comparison of Measurement Methods
- Geometric method — moderate accuracy; best for regular solids; easy
- Water displacement — high accuracy; best for irregular solids; moderate difficulty
- Density bottle — very high accuracy; best for liquids; advanced
Relative Density
Relative density = density of substance ÷ density of water. It has no units and is widely used in petroleum and chemical laboratories. For example, a substance with density 2 g/cm³ has a relative density of 2.
Identifying Unknown Materials
Compare your calculated density against known values to identify samples. A reading near 9 g/cm³ suggests copper (≈8.96 g/cm³), while ≈8 g/cm³ points to iron (≈7.87 g/cm³).
Conclusion
Experiment 1: The Densities of Liquids and Solids is a foundational laboratory activity that introduces students to one of the most important physical properties of matter.
Through this experiment, learners gain practical experience in:
-
Measuring mass and volume
-
Applying the density formula
-
Understanding scientific measurement accuracy
-
Identifying materials using density values
More importantly, density is not just a classroom concept. It explains everyday phenomena—from ships floating in oceans to oil separating from water.